

VST Materials JSC., is one of Vietnam's leading manufacturers of Encaustic Handmade Cement Tiles, proudly supplying customers in over 34 countries across 5 continents since the 1970s.
Originating in 19th-century in Spain, encaustic cement tiles soon became a preferred flooring material for palaces, public buildings and prestigious residences across Europe and the Americas. Today, they remain highly valued for their timeless beauty, rich colors and distinctive handcrafted character.
Each tile is individually handcrafted using natural mineral pigments, premium cement, precision metal molds and hydraulic presses. Custom colors and patterns are available to meet architects' and designers' requirements, while the natural variations of handmade production ensure every tile is truly unique.
The craft was introduced to Vietnam in 1858 and has since been perfected by generations of skilled Vietnamese artisans. Today, Vietnamese handmade cement tiles are internationally recognized for their exceptional craftmanship, durability and timeless appeal, making them an excellent choice for residential, commercial, hospitality and heritage restoration projects.
Many of Vietnam's most iconic historical buildings - including Hochiminh City Central Post Office and the Notre-Dame Cathedral Basilica of Saigon - still feature their original handmade cement tile floors, a testament to the enduring beauty and performance of this remarkable material.


The installation process is very simple and quick. However, care must be taken during handling and installation to avoid damaging tile surfaces and edges.
Step 1: Prepare the Substrate
Prepare a clean, dry and perfectly level concrete substrate before installation.
Do not install cement tiles directly onto a fresh concrete or an unlevelled compacted cement-sand base, as this may cause tiles to become uneven, loose, cracked or broken over time.
Allow approximately 20mm below the finished floor level:
Step 2: Apply Adhesive or Mortar
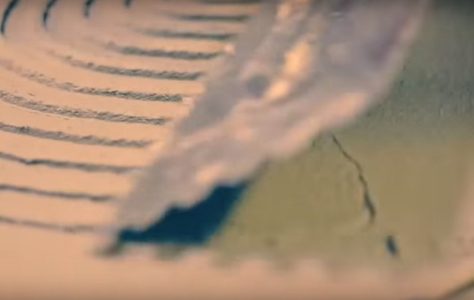
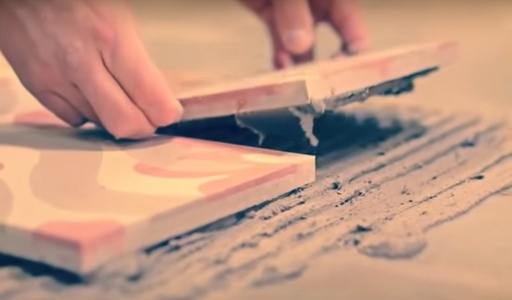
Tiles can be installed by using tile adhesive or thin-bed mortar. For good adhesion:
Step 3: Lay the Tiles
Carefully place the tiles to avoid chipping the edges.
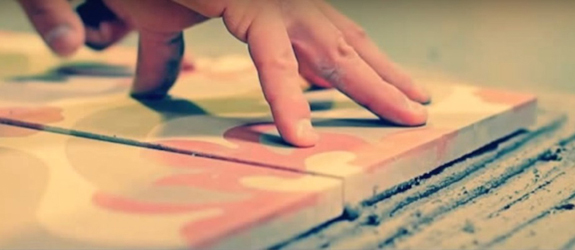
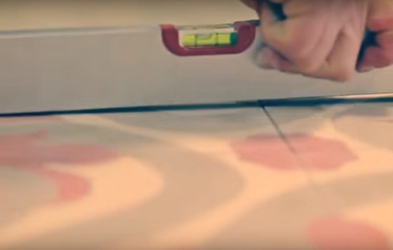
After laying, adjust and level the tiles using straightedge and hand pressure. Do not use a rubber mallet as impact may cause cracks.
Maintain a very narrow joint of approximately 1mm between tiles.
Step 4: Clean Immediately
Immediately remove any excess adhesive or mortar from the tile surfaces and edges using damp cloth or sponge.
Do not allow adhesive or mortar to dry on the tile surface, as it may become difficult to remove.
Protect the finished floor and allow the adhesive or mortar to cure completely before grouting.
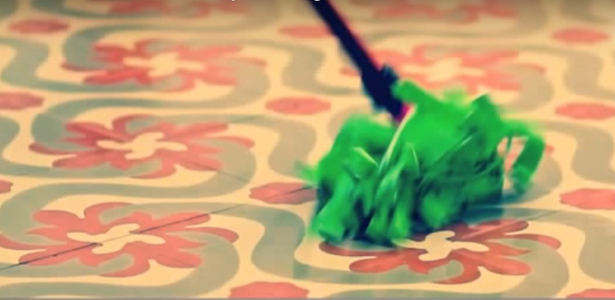
Step 5: Grouting
Fill the joints with suitable cementitious grout.
White grout is generally recommended for the most neutral appearance, white other colors may be selected according to the design.
Remove excess grout from the tile surface before it dries.
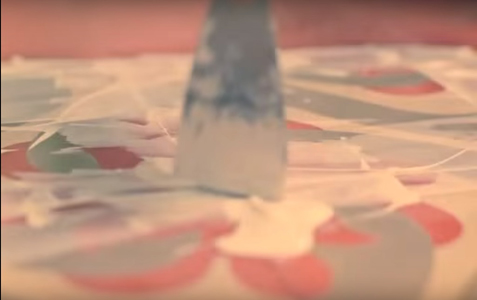
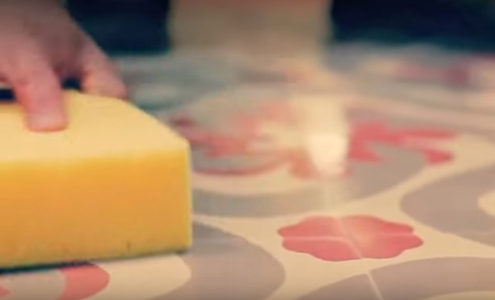
Step 6: Cleaning and Sealing
After grouting, clean the floor with mild soap and clean water and allow it to dry completely.
Apply suitable penetrating sealer from qualified manufacturer according to the manufacturer's instructions.
Always test the sealer on one tile or a small inconspicuous area before applying it to the entire floor.
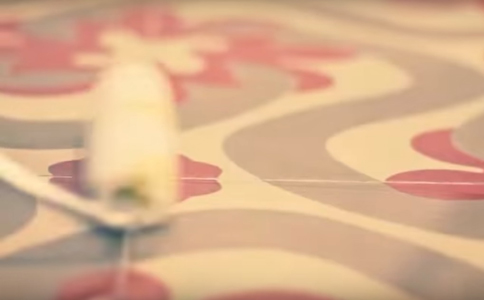
Step 7: Periodic Resealing
Depending on traffic and usage, reseal the floor every 12-24 months or as recommended by the sealer manufacturer.
OTHER TIPS:

Premium limestone valued for its durability, elegant appearance, and versatility across residential and commercial projects.
Detail
Durable basalt and granite ideal for paving, landscaping, facades, and architectural applications.
Detail
Elegant Vietnamese marble featuring timeless beauty and refined finishes for luxury interiors and architectural projects.
Detail


